Building my own PC!
Why did I chose to make my own PC, and what did I learn from it?
Warning: This is not a PC building guide, it’s just a small fun writeup. Do let me know if you spot any errors though!
As you might know, I recently built my very own desktop computer!
Well, it technically wasn’t built by me. Shoutout to Vii PC’s friendly staff, who helped me to build my PC and also taught me some of the basics of building the PC!
Why build a PC?
Frankly speaking, it is because my laptop lags way too much. I even experienced the dreaded blue screen of death. As a game developer, I sometimes need multiple unity projects to be open at the same time, and that has been causing my laptop RAM to max out and crash the laptop.
Besides, my laptop is 5 years old at this point. Sorry buddy, you might have been my long time companion, but you’re just not good enough anymore.
Considerations?
With a $2000 budget in hand, I set out to think about the requirements that my PC might need. Of course, it needed to be able to play the latest games with at least 60fps. But other than that, it would potentially need to be able to support me streaming games, run VR applications decently, and be usable as a remote desktop.
The first things to pick out was of course the CPU and the GPU. Firstly, the cpu will need to be able to support a remote desktop setup. This meant leaving the desktop turned on for an extended amount of time. I might need to run virtual machines on the computer. As such, having many cores for good multithreaded performance is ideal. Also do look out for my eventual entry into v-tubing! I must confess that the choice between Intel and AMD CPU is quite arbitrary however. Both brands offer similar performance to price ratios, hence I simply picked Intel for my familiarity with it. The Intel i7-12700 is a very recently released CPU with 12 cores, good single threaded performance on its P-cores, and has E-cores to help with power efficiency. It is likely the best mid ranged cpu offered at the current moment and is hugely popular as well.
As for the GPU, I knew I had to get the NVIDIA RTX series. AMD GPU might have better performance to price ratio. However, there are many useful software such as CUDA which exclusively support NVIDIA cards. As someone who is interested in GPU programming, using AMD cards is likely more hassle than I would like. My monitors are only 1080p, and I couldn’t really tell the difference in refresh rates after 120hz. After much consideration, I decided on the RTX 3060 ti, as it was able to hit the minimum requirements I was hoping for in most games. As for the manufacturer I simply chose Galax as they offer the cheapest GPUs, and manufacturer typically does not matter.
Next is the motherboard. I needed wifi and bluetooth and not much else, and the ASUS B660M series seemed like a safe choice. The motherboard holds and allows communication between many of the crucial electronic components of a system, such as the CPU and memory, and provides connectors for other peripherals (wikipedia). The motherboard to pick mainly depends on the cpu and the size of the chasis really. Do make sure that all your components are compatible wit it.
As for the storage, RAM and power supply, I simply chose the ones with good reviews.
For the chasis, I picked one that is glass on 1 side, so I can see into it easily. In terms of asthetics, it was easily a 10/10, along with the RGB cpu fan.
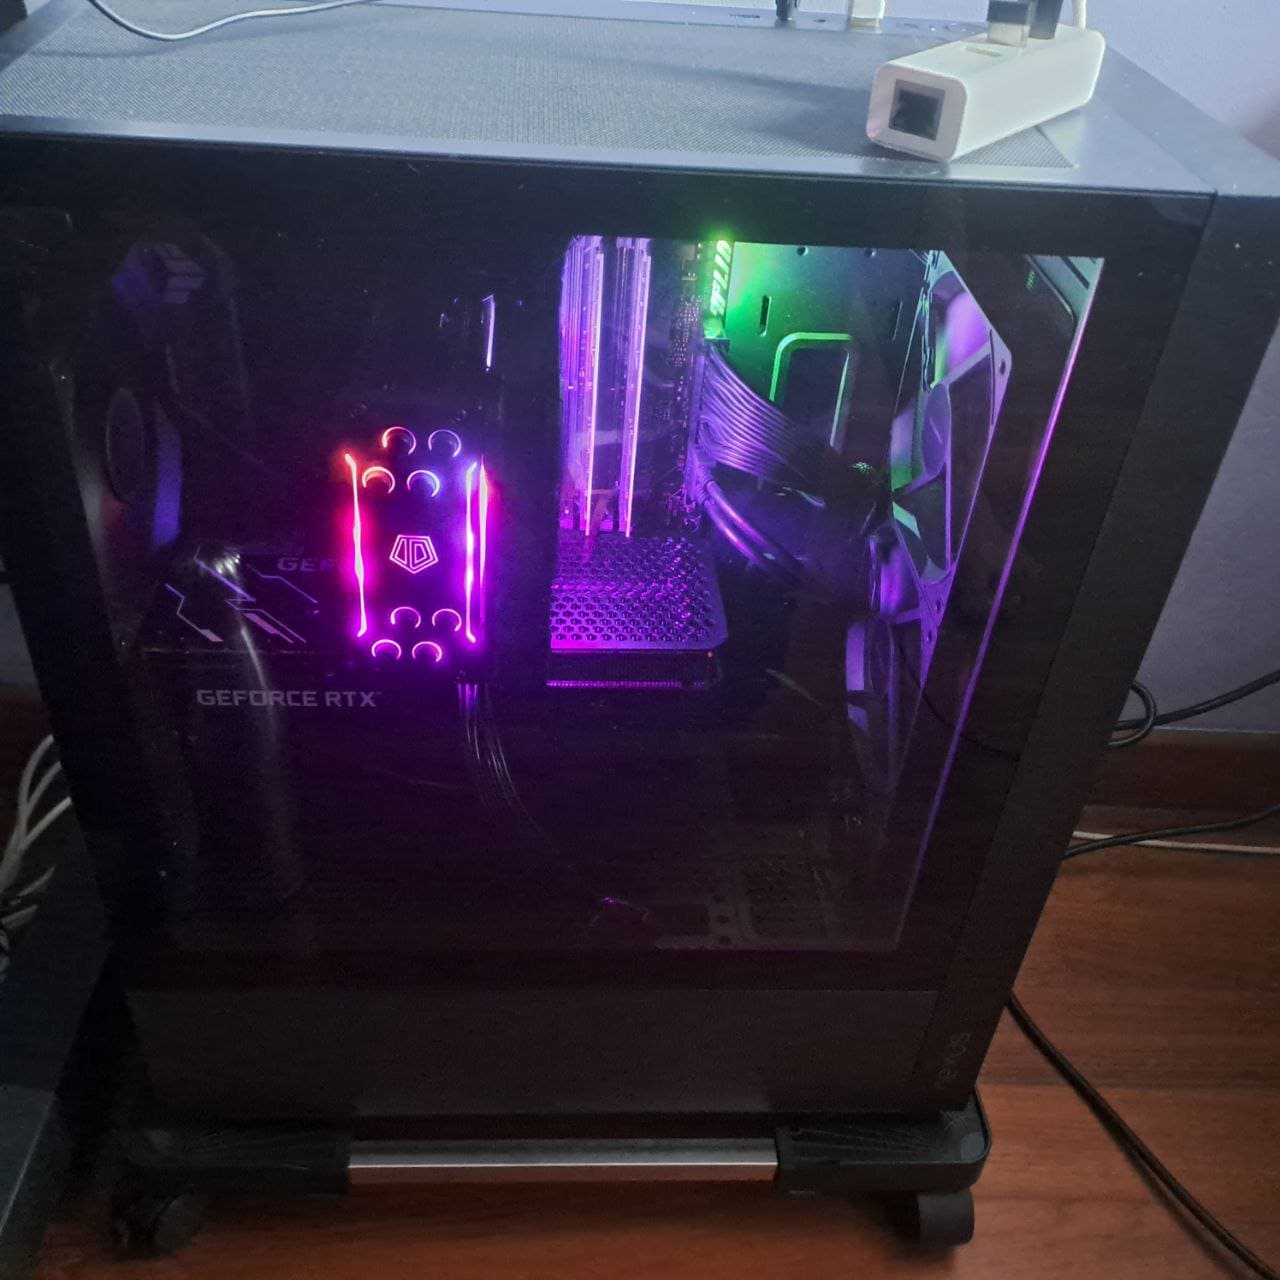
Overall, this was the result of the parts which I have chosen, and it was on the slightly pricier side. However, I believe that it would be worth if it could last me through five or more years.
Surveying the market
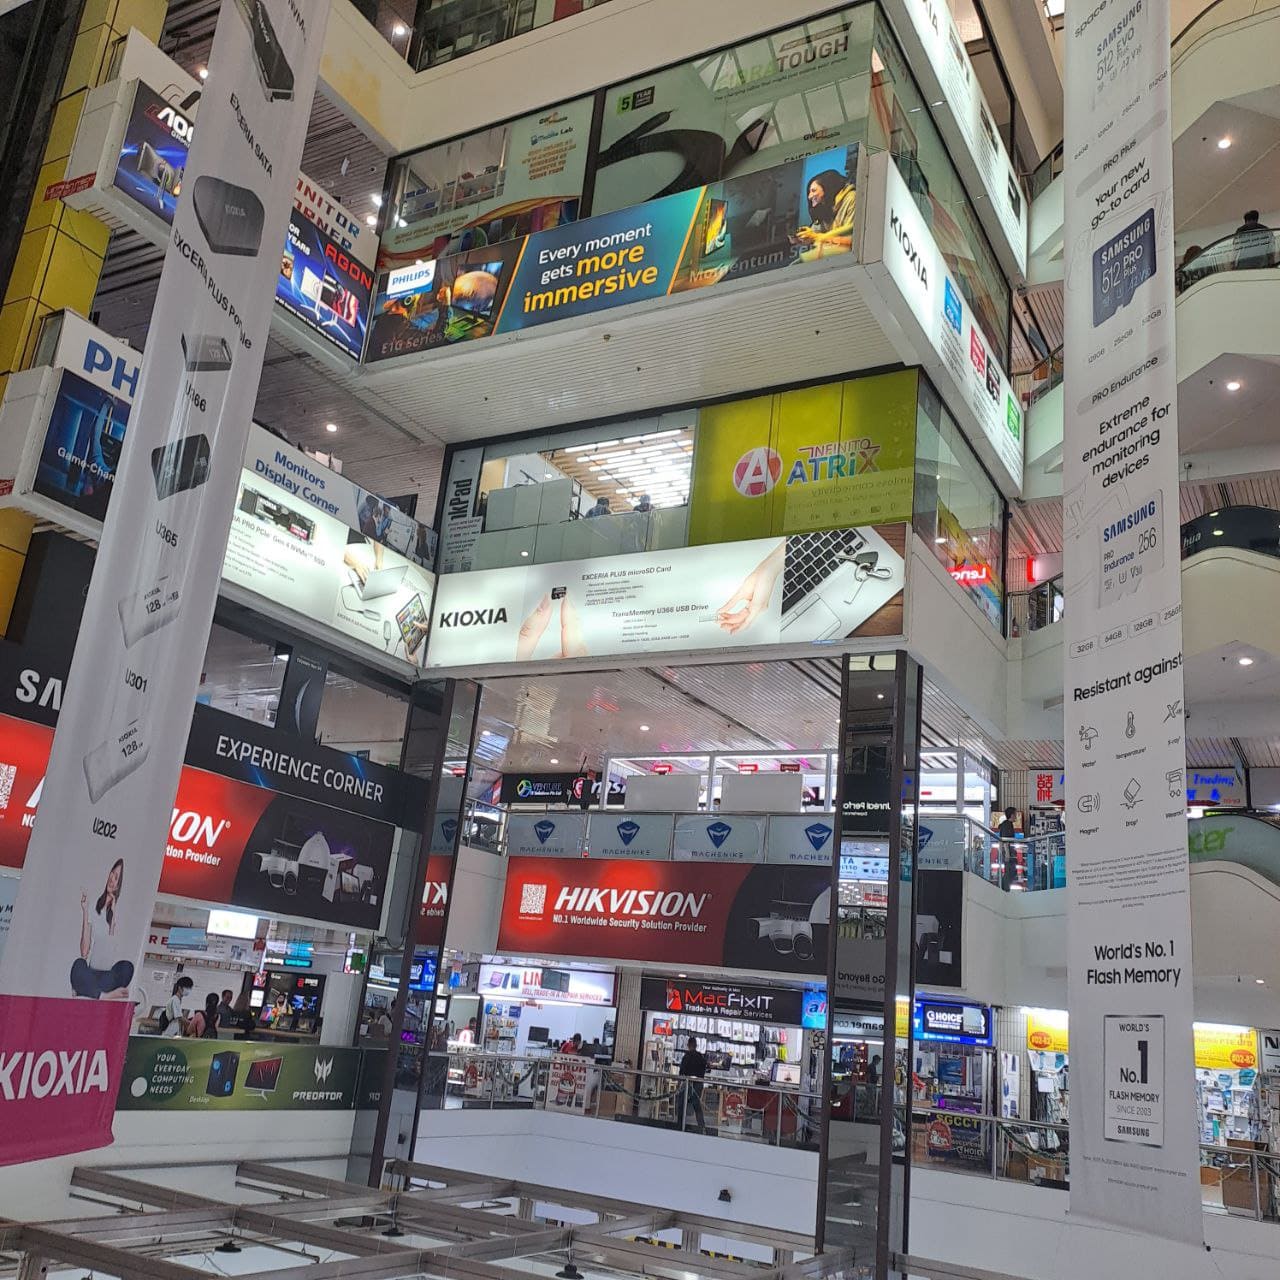
The best place to get a PC built in Singapore is at Sim Lim Square. It might be possible to get the PC parts at a cheaper price from Amazon, however this is only recommended if you know exactly what you are doing, since not all parts play well together.
Even if you are a new buyer, try visiting multiple shops and asking the staff there whether your PC parts list make sense. They build PCs for a living, and the advice is typically free of charge! Definitely does not hurt to ask.
I suggest visiting Sim Lim Square on weekdays if possible. It’s much less crowded, so the staff are also much more willing to help!
PC Building Diary
The staff at Vii PC has kindly taught me about the PC building process, so I will try my best to write out what I learnt!
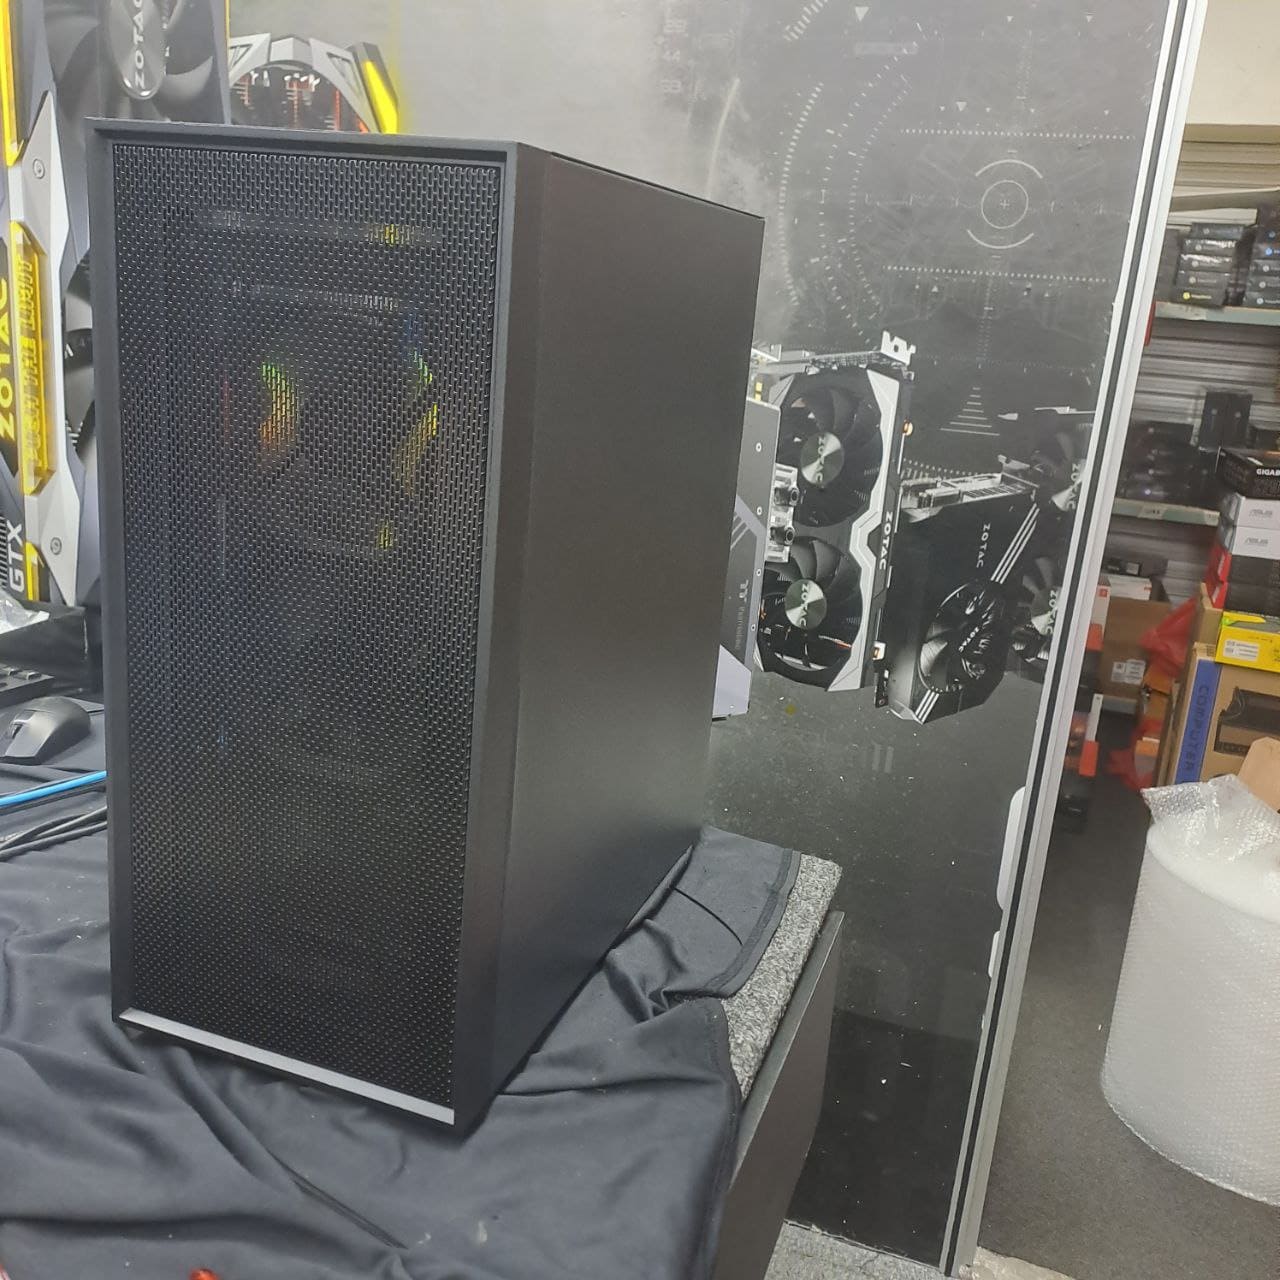
And here is the Tecware NEXUS casing in its full bare glory!
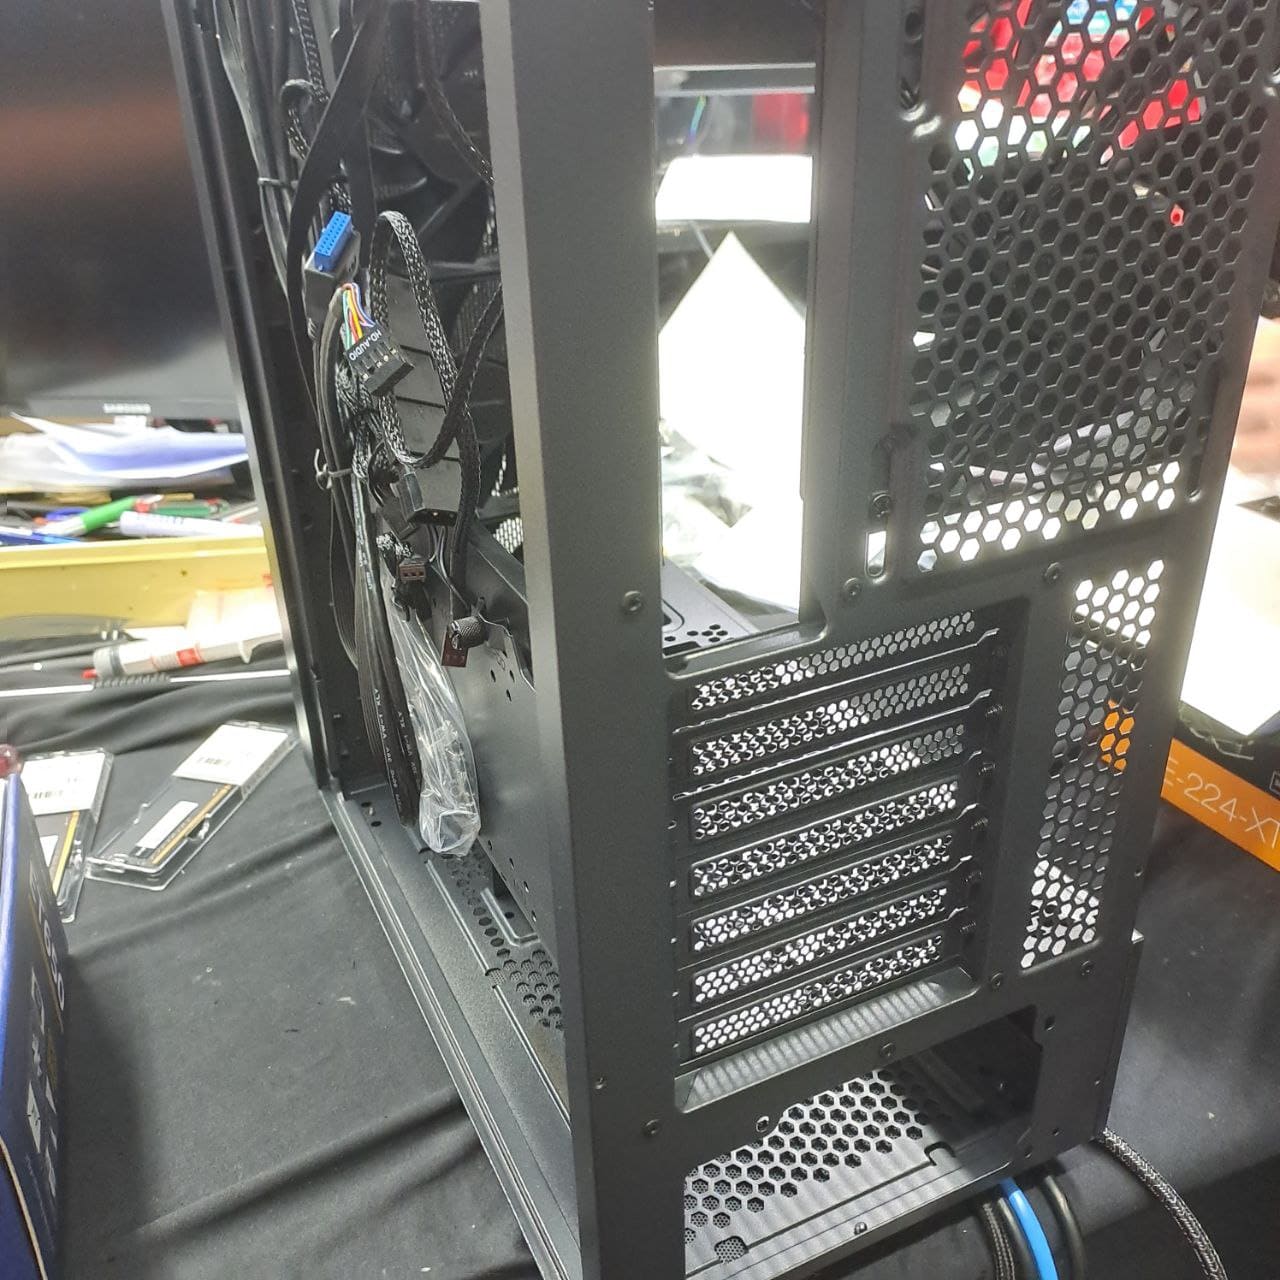
And here is the inside before we connect anything:
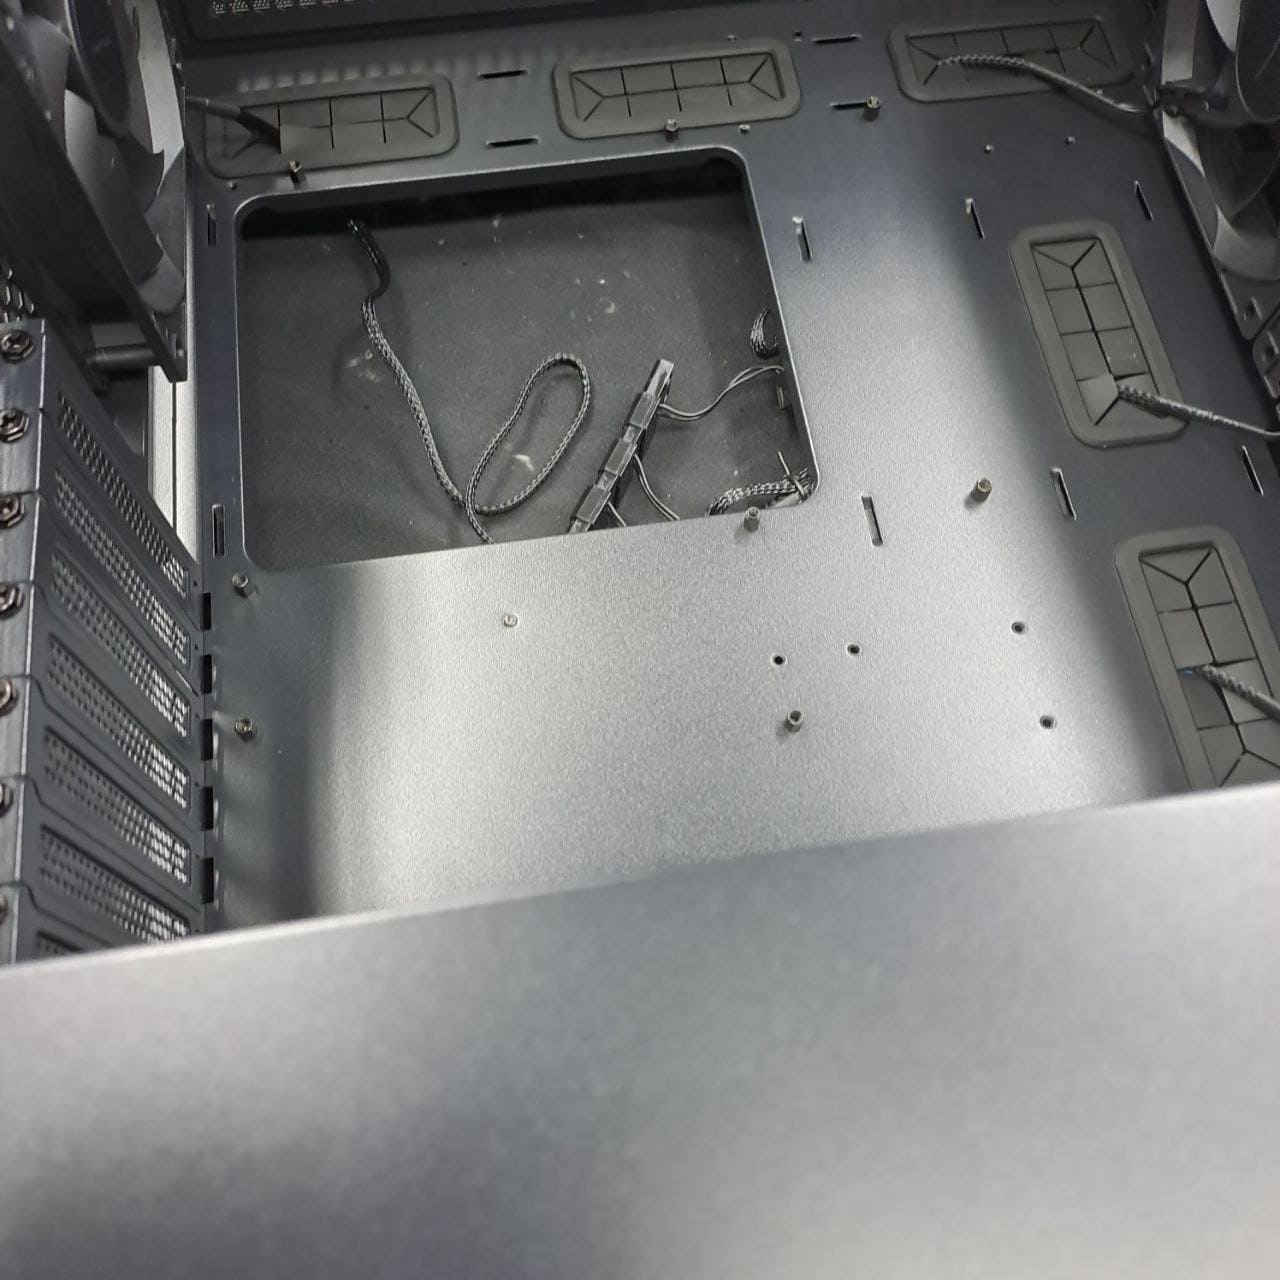
So the first thing we want to do is to put in the power supply. No pictures here, but it’s not too difficult.
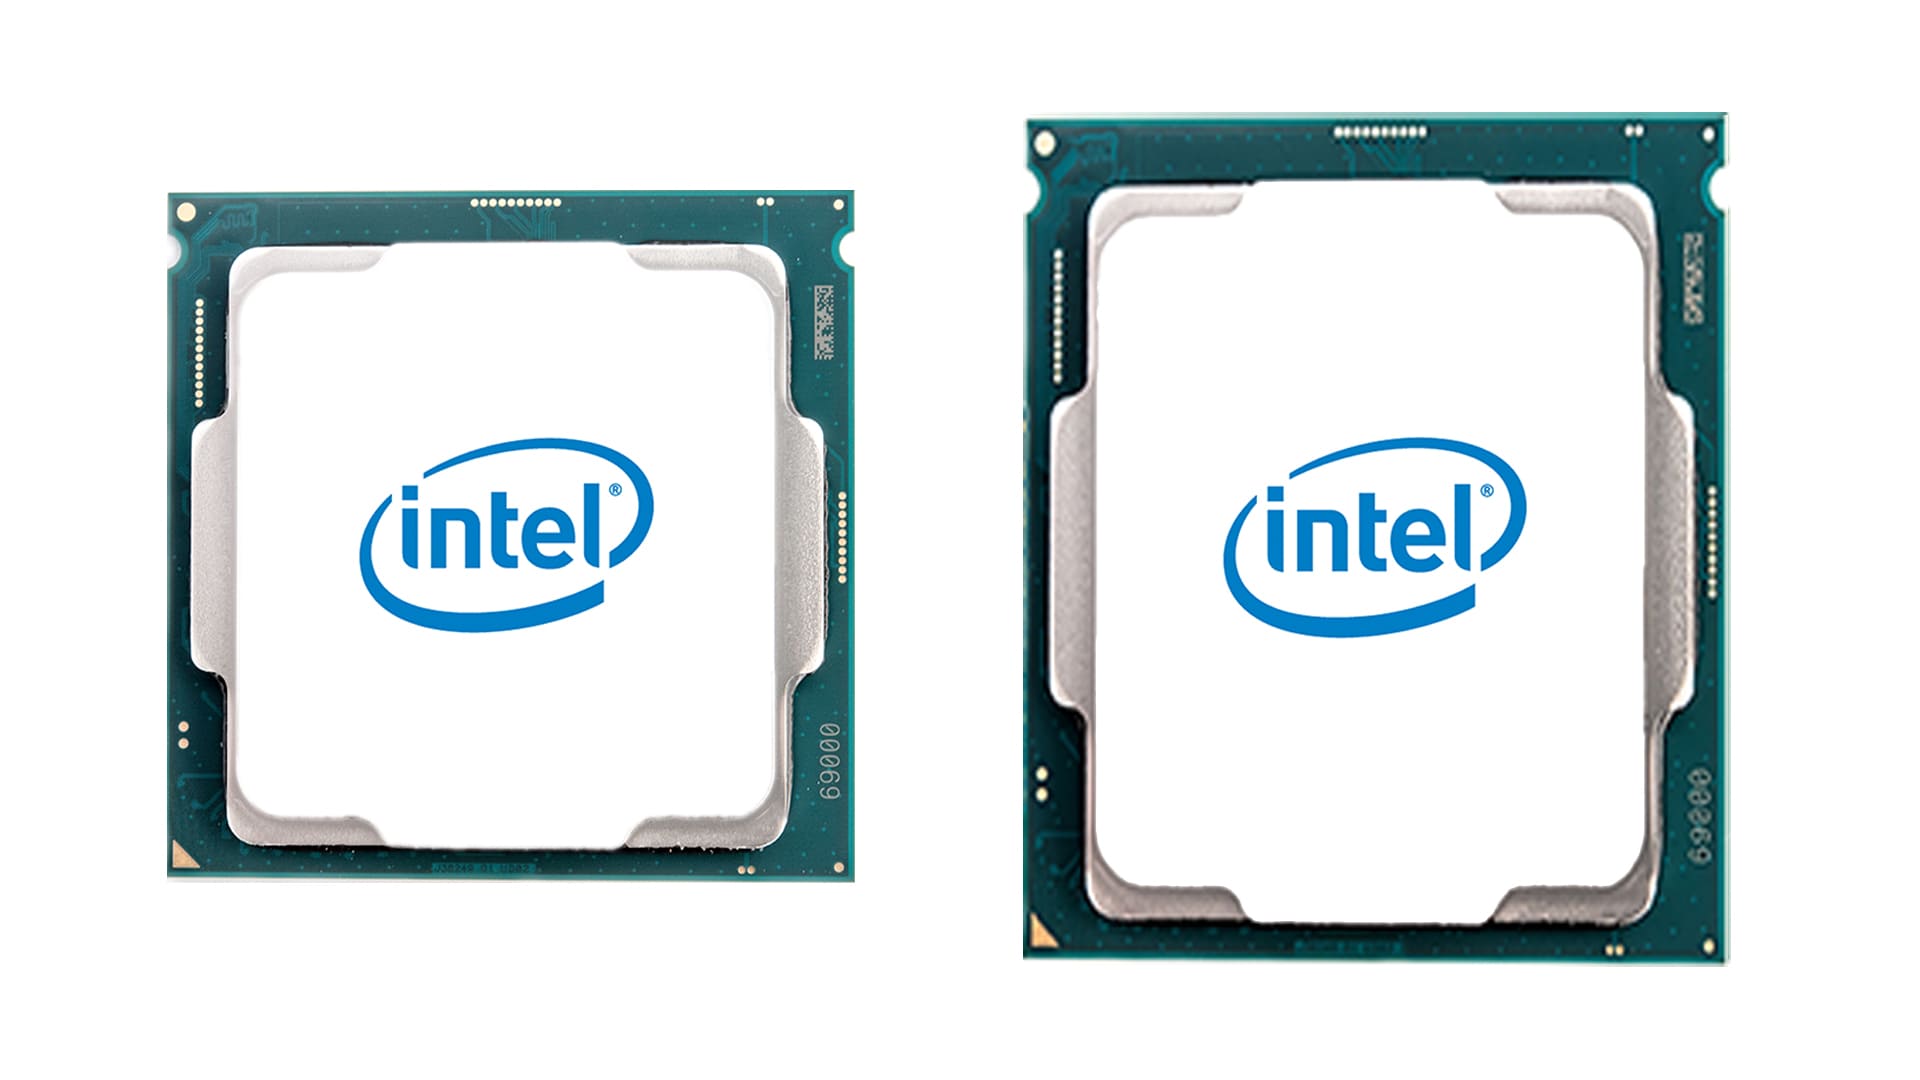
Then, we want to add in the cpu with the cpu into the chasis. So we put the cpu and fan onto the motherboard. Unfortunately, I did not get any pictures of this process (please forgive me). One thing I learned however, is that all 12th-Gen Intel CPU chips use the recently released (admittedly for a year since Nov 2021) LGA 1700 socket. Meanwhile, 10th and 11th Gen Intel CPU chips use the LGA 1200 socket. This means that the 12th and 11th Gen Intel CPU chips have a different sizes, and so the motherboard and cpu fans needed are not cross compatible. Thankfully, the staff at the PC shop informed me of this before I made a terrible terrible mistake.
Intel 11th Gen is square, while 12th Gen is rectangular:
In order to connect the motherboard to the case fans, we use Molex cables, which are those on the top here.
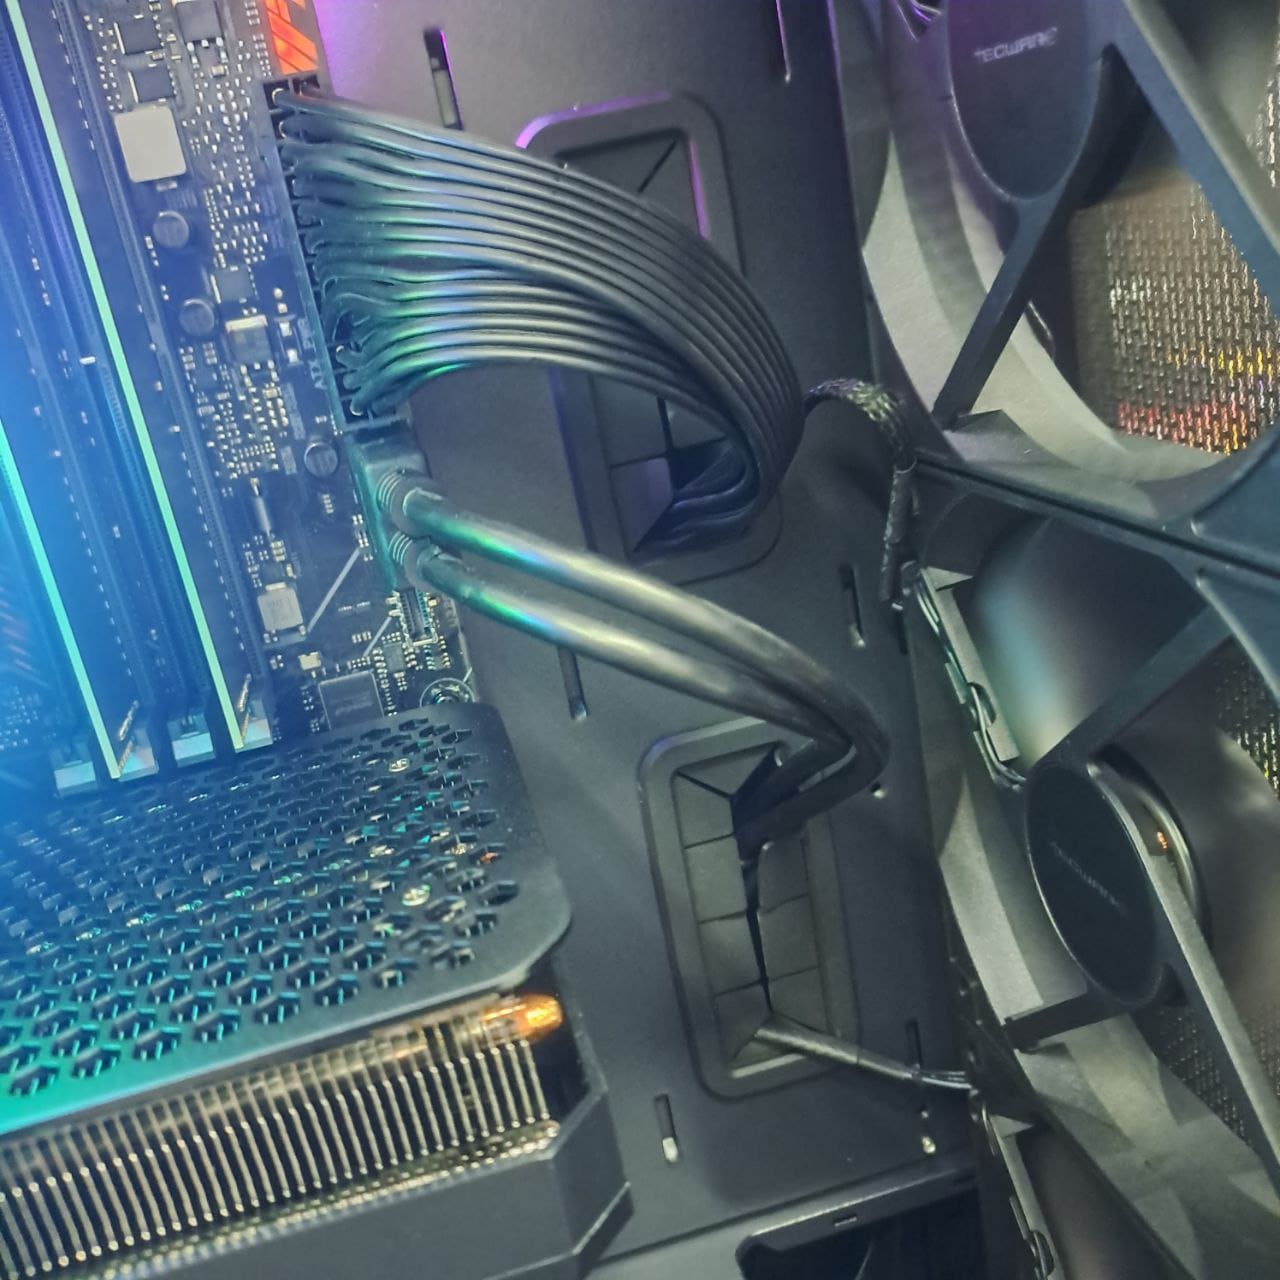
Note to check the exact location of the screw holes before putting in the motherboard. The chasis has many such holes to accommodate a variety of motherboards, so not all of them will be useful for your specific board.
This is how the computer looks like after the motherboard has been connected:
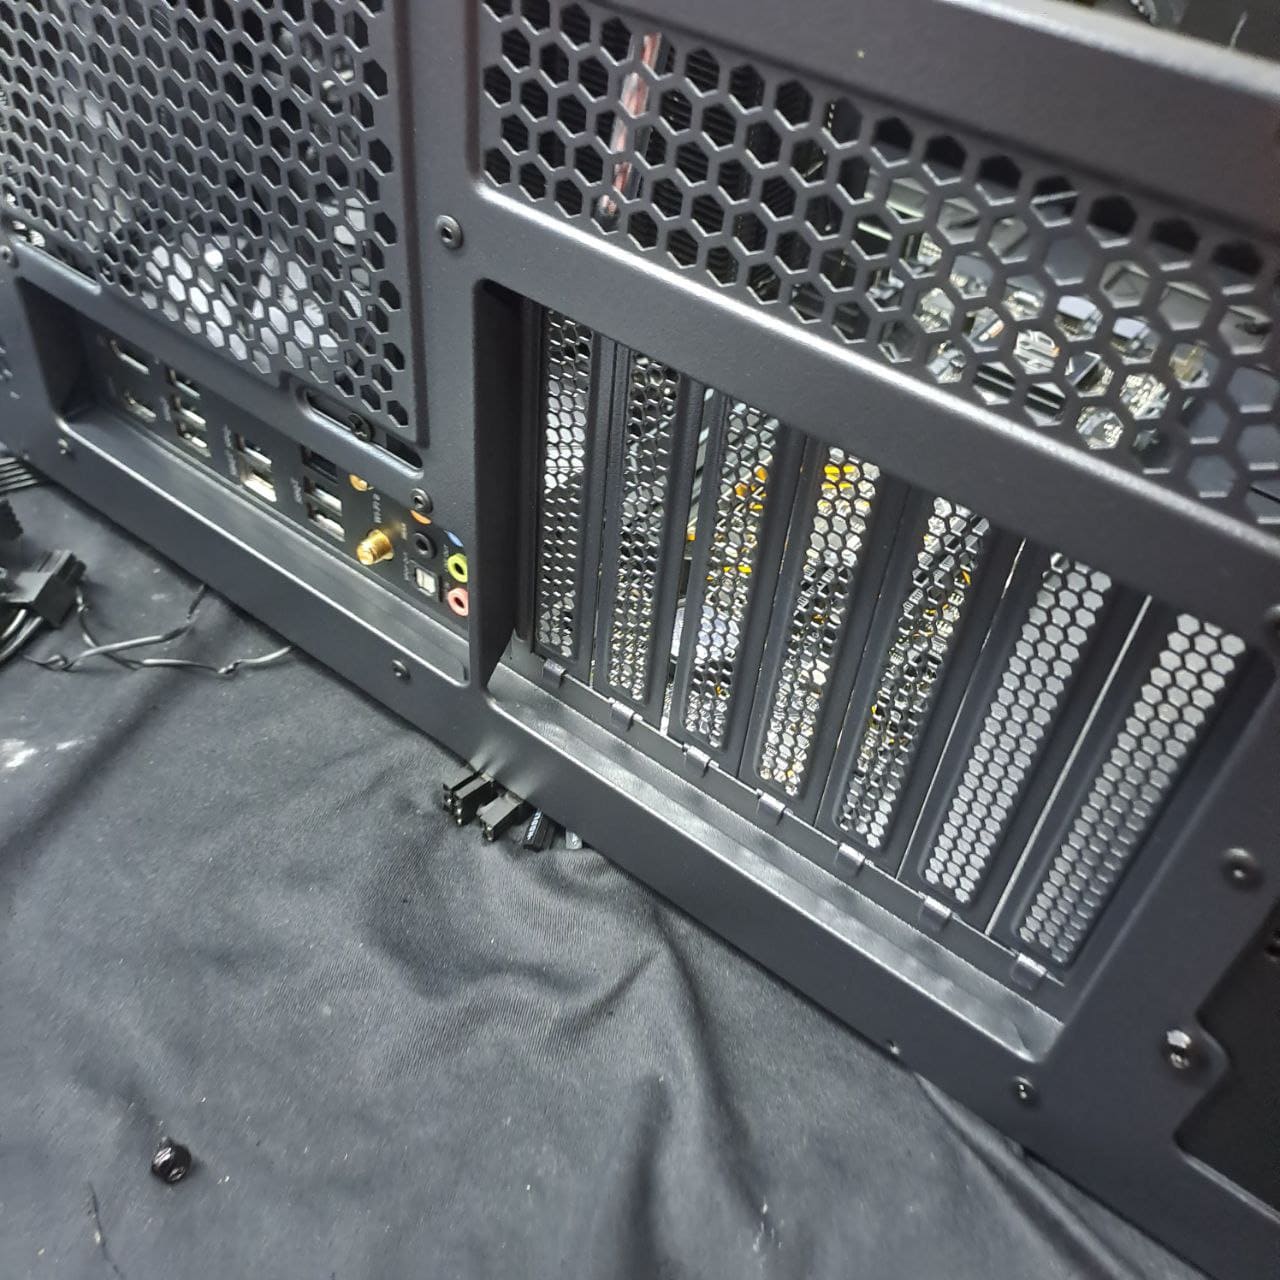
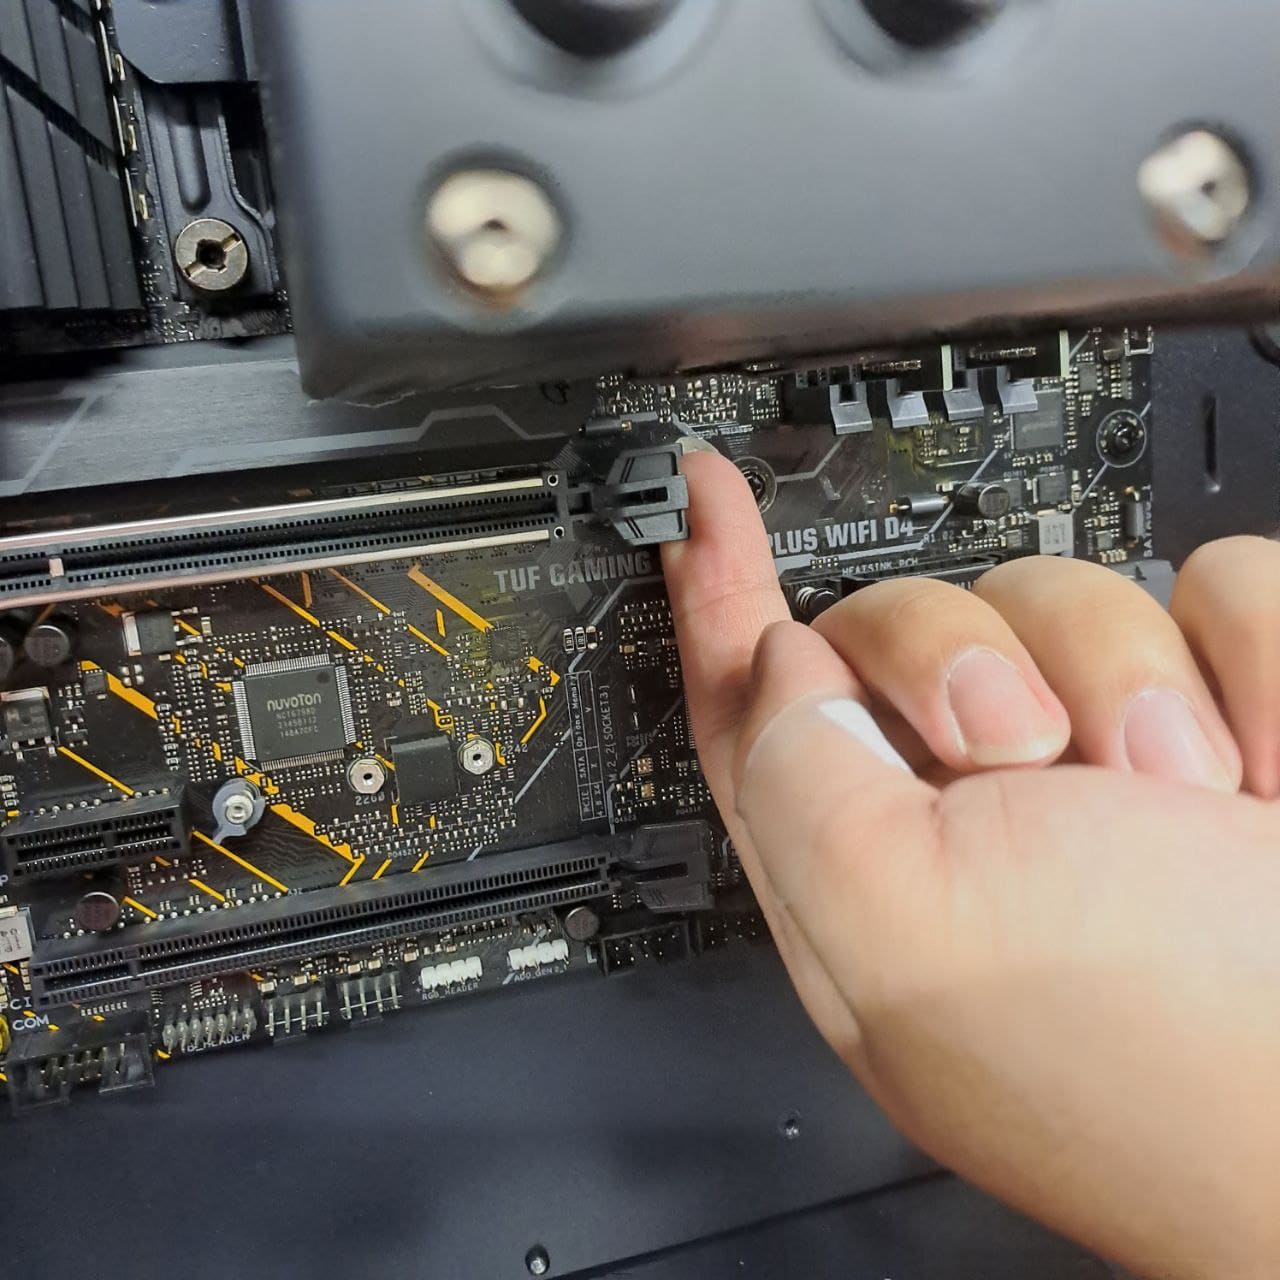
Next, we want to add the GPU. First we need to undo these latches on the motherboard before we put in or take out a GPU.
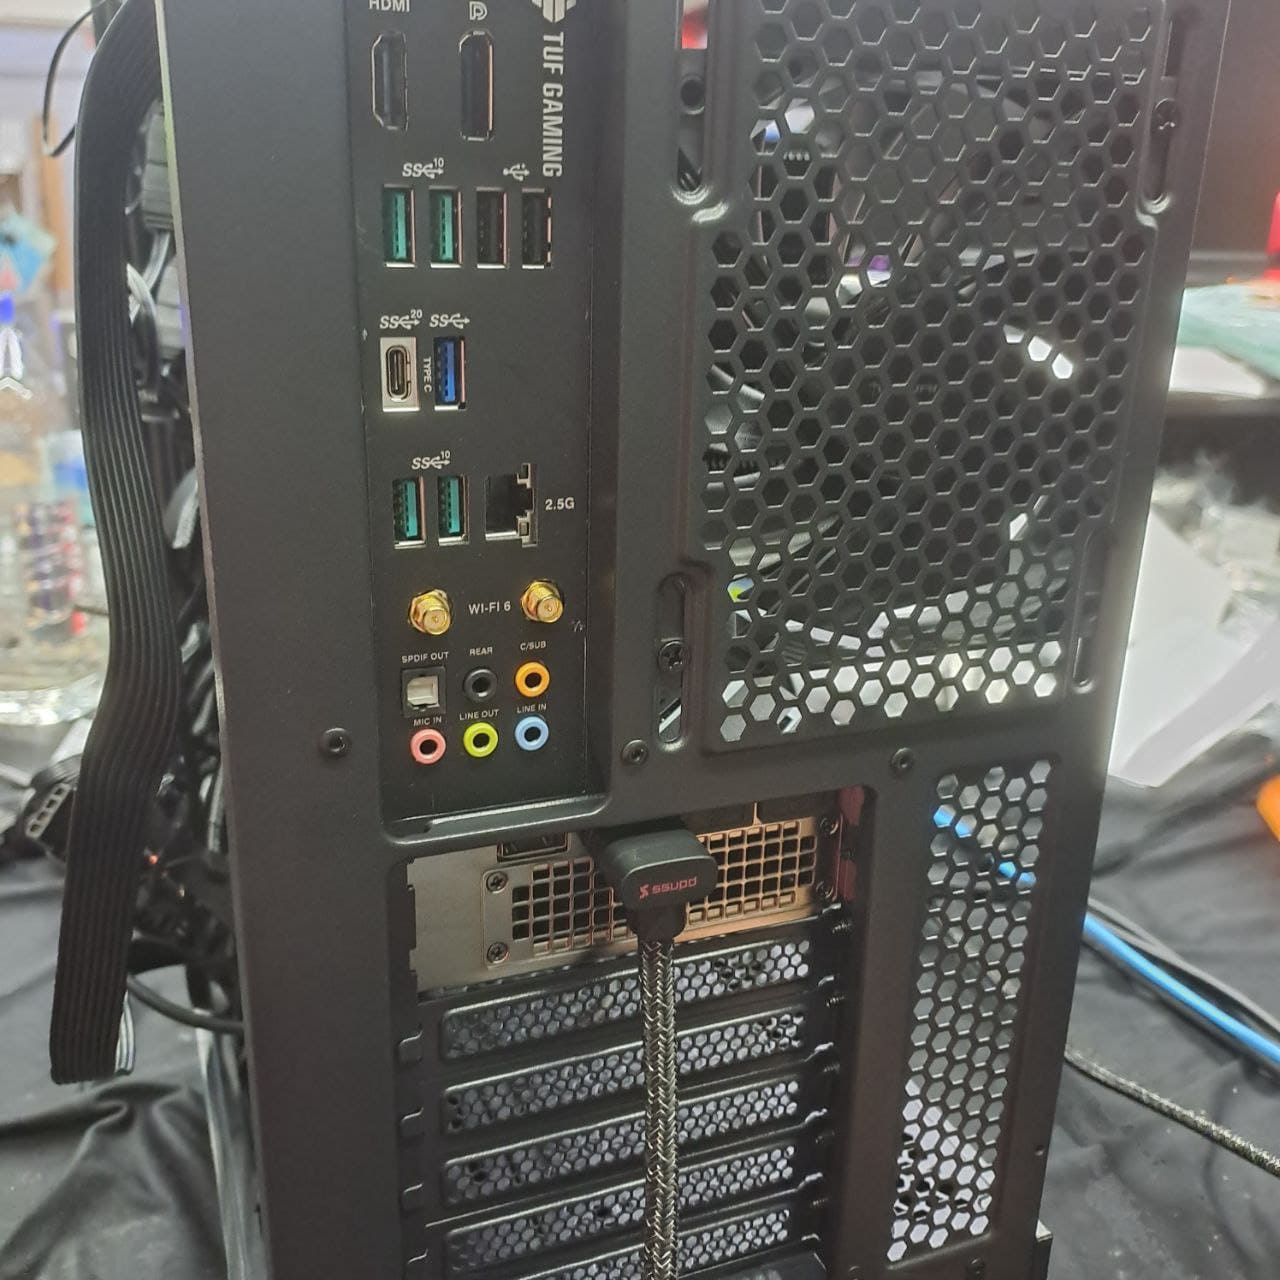
We can see the GPU below the motherboard in this picture:
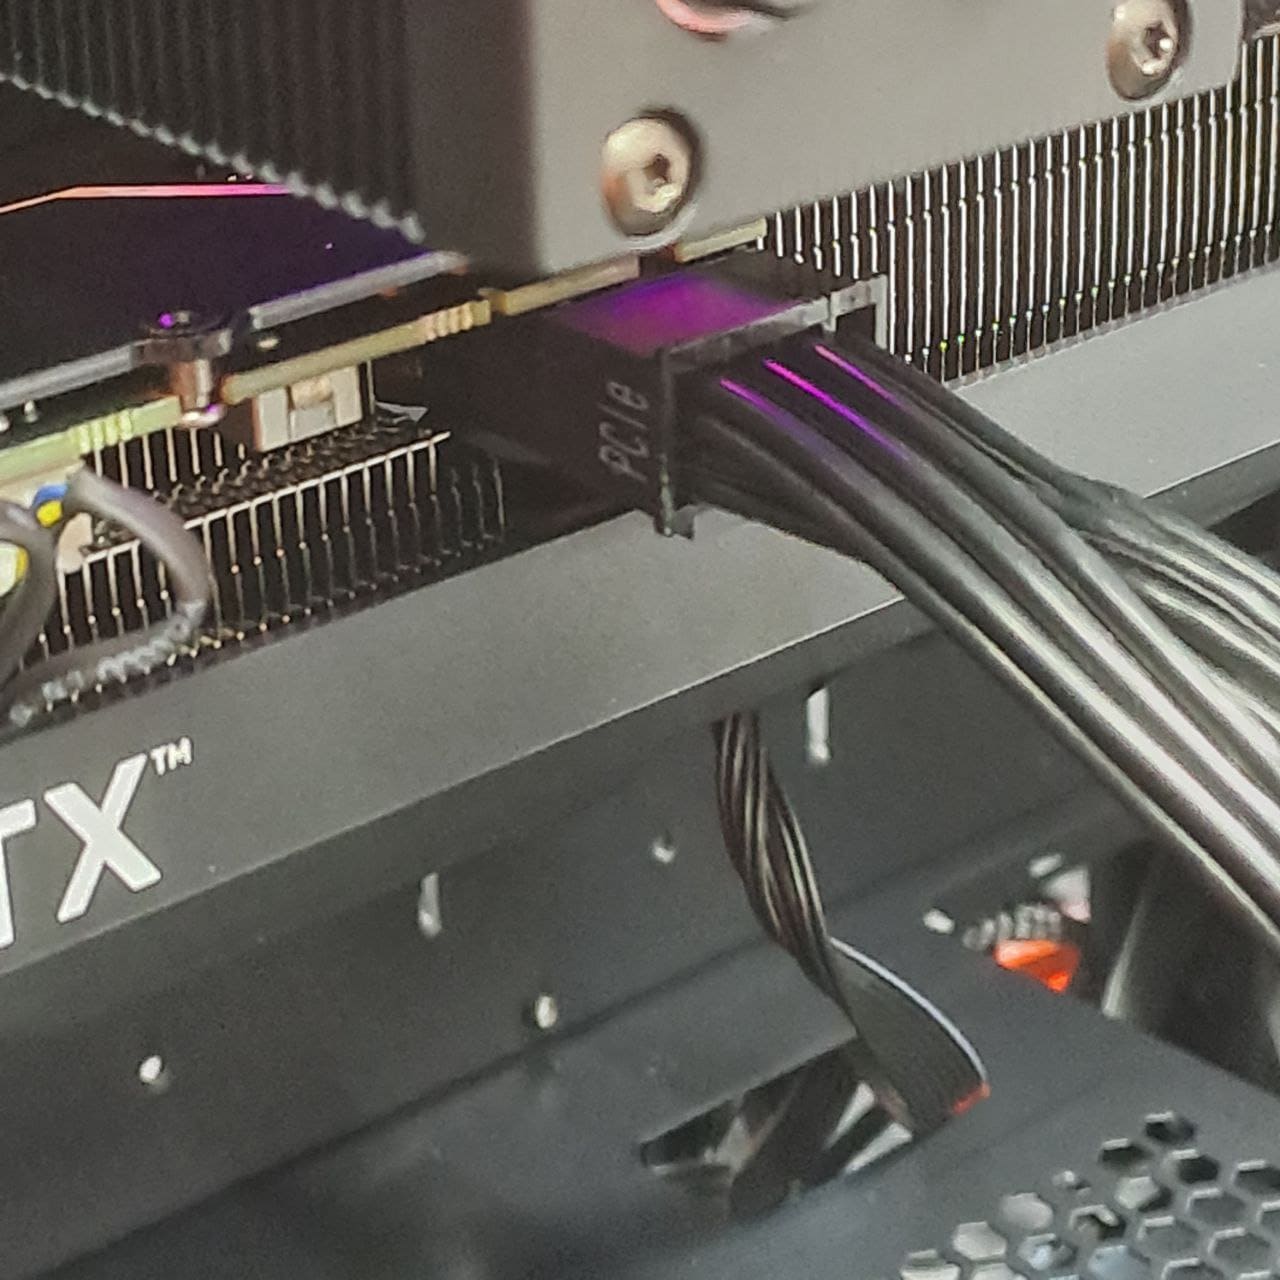
You can make out the RTX 3060 from another angle here as well:

We connect the GPU to the power supply using PCIe cables as pictured here.
Next is putting in the RAM and the storage. Honestly I have already forgotten how they are supposed to be slotted into the motherboard. However, we can see the dual RAM being on the left side of this picture.

Now all that is left is to connect the various buttons to the motherboard. Unfortunately I have forgotten where all the wires are supposed to connect. Now, we can just close up the casing and get my very own cool and complete computer!

What could I have done better?
If there’s any I regret, it’s not writing this piece immediately after bringing the PC home, and not taking more pictures of the building process T_T. However, I am overall satisfied with the PC as for now, and running my games at 60fps with no lag just feels too good :)
If you liked this article, do like and share it with your friends! See you next article!


